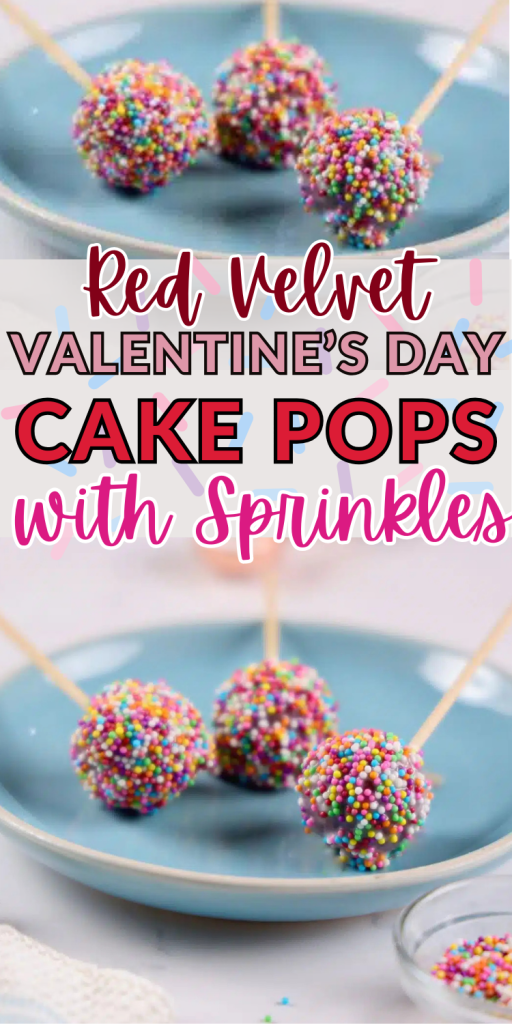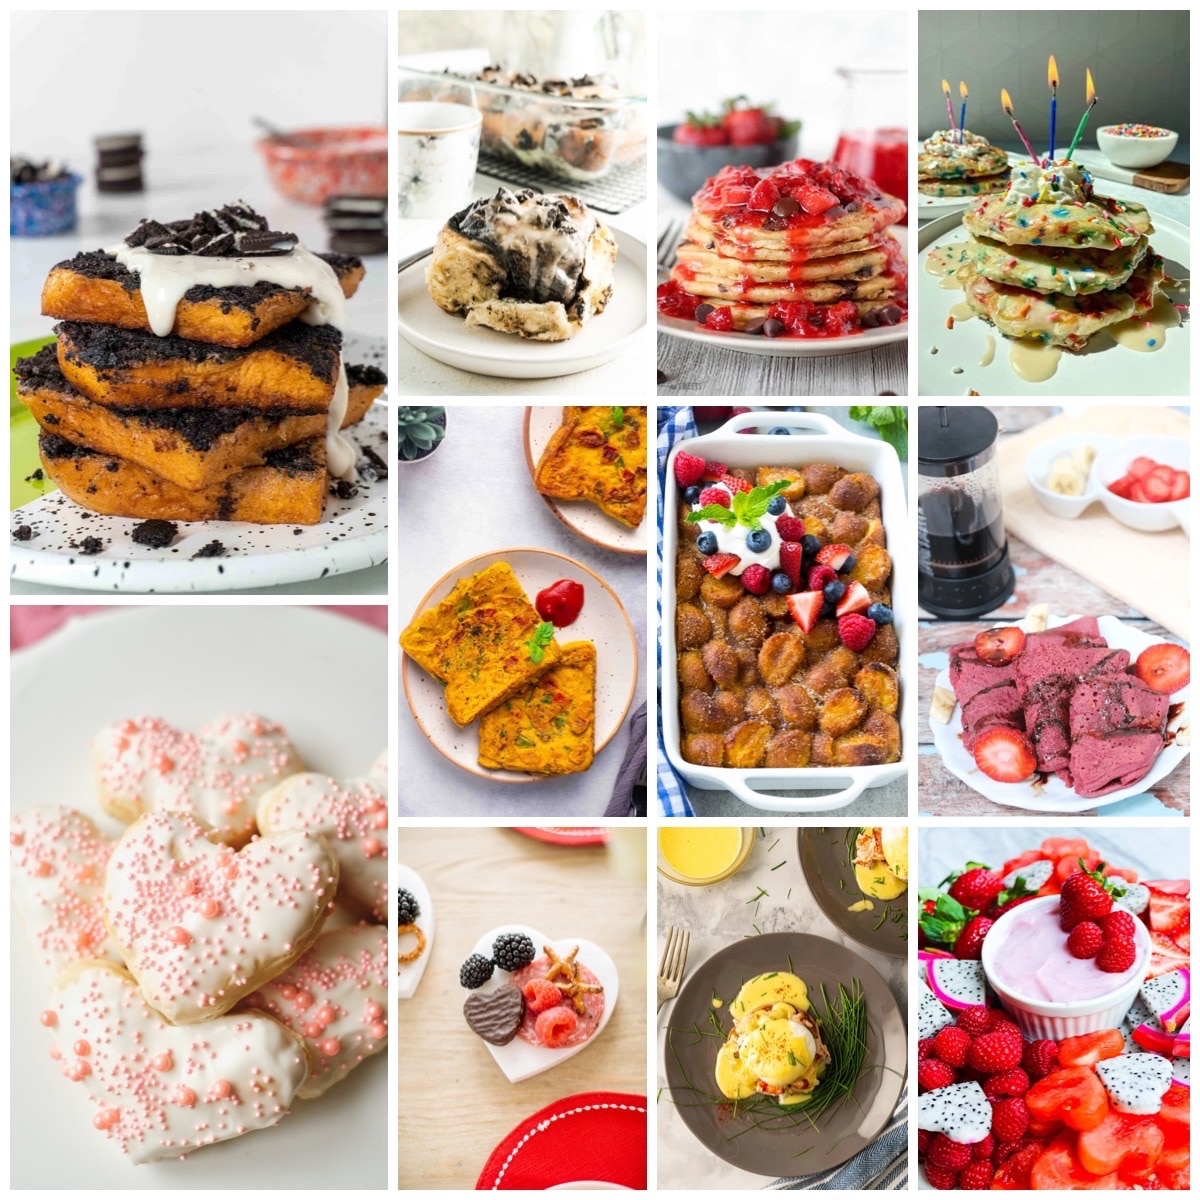
Red Velvet Cake Pops an Easy to Make Valentine’s Day Dessert

How to Make Red Velvet Cake Pops: A Sweet and Fun Treat
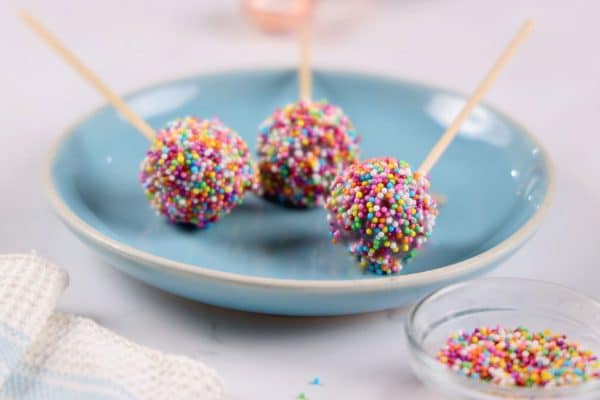
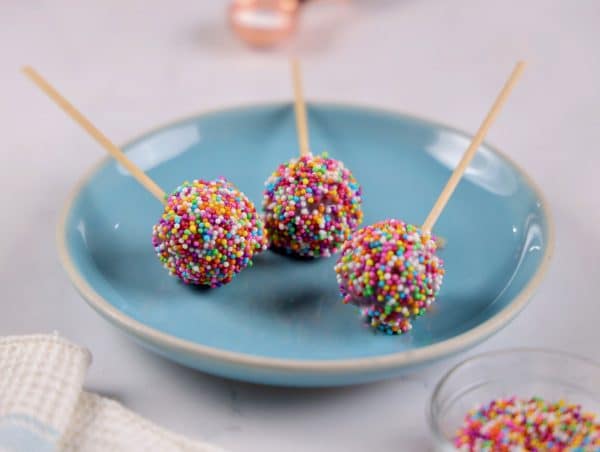
Red velvet cake pops are the perfect bite-sized treats for any celebration or special occasion.
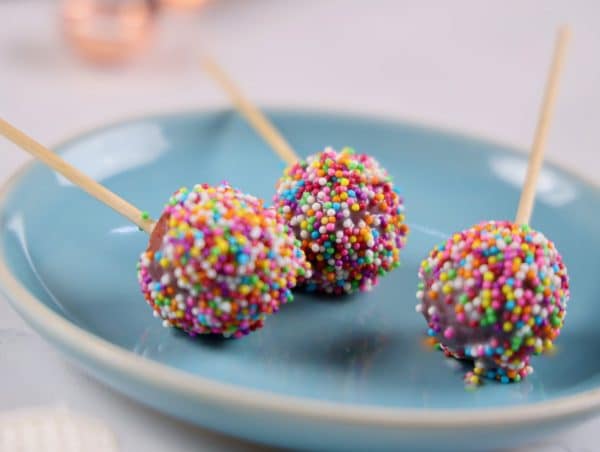
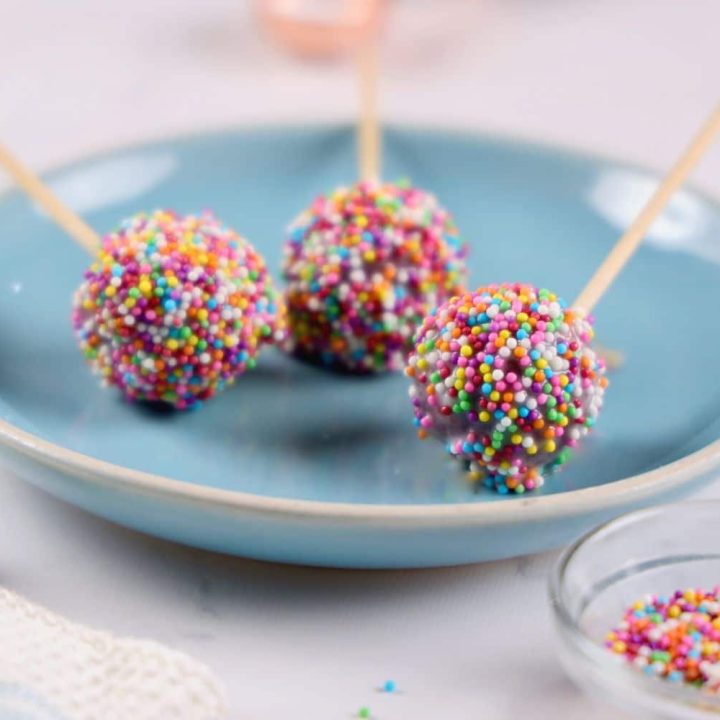
With their vibrant red color, creamy buttercream, and a coating of white chocolate adorned with sprinkles, these little desserts are as delightful to look at as they are to eat.
This recipe walks you through every step—from making a red velvet mug cake to assembling and decorating the cake pops—so you can create these delicious goodies at home.
Let’s get started!
Note: This post may contain affiliate links, which means if you buy from my link I might make a small commission. This does not affect the price you pay. See the full affiliate disclosure here.
Ingredients
For the Red Velvet Cake:
- 1/4 cup all-purpose flour
- 2 tbsp sugar
- 1 tsp cocoa powder
- 1/4 tsp baking powder
- 5 tbsp milk
- 1/2 tsp apple cider vinegar
- 1.5 tbsp butter (melted)
- 1 tsp red food coloring
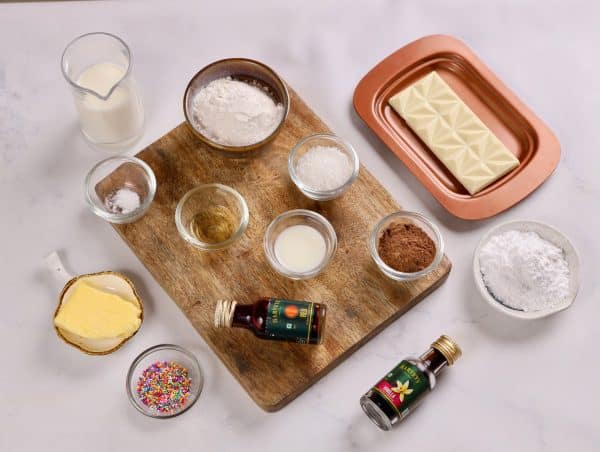
For the Buttercream:
- 1/4 cup powdered sugar
- 50 grams butter (room temperature)
- 1 tbsp milk
- 1/2 tsp vanilla essence
For the Cake Pops:
- Prepared red velvet cake
- 2 tbsp prepared buttercream
- Wooden sticks
- White chocolate (melted, as required)
- Sprinkles (to garnish)
Instructions
Step 1: Make the Red Velvet Mug Cake
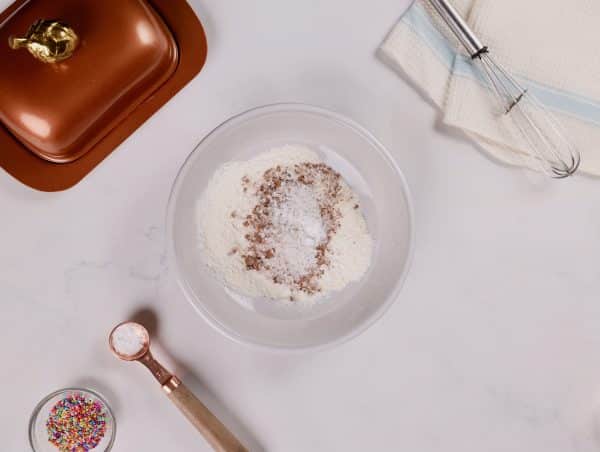
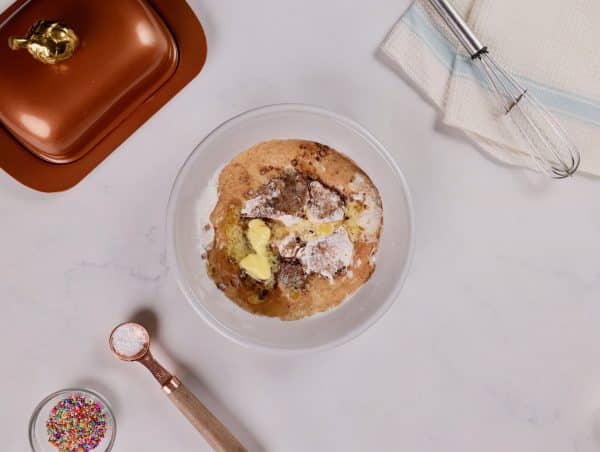
- In a mixing bowl, combine the flour, sugar, cocoa powder, baking powder, milk, apple cider vinegar, butter, and red food coloring. Mix until you achieve a thick, smooth consistency.
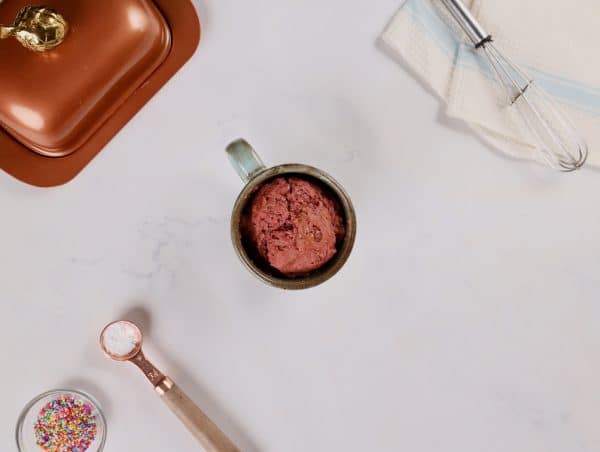
- Pour the batter into a microwave- or oven-safe cup.
- Microwave for 70 seconds to 1 minute, or bake in a preheated oven at 180°C (350°F) for 15-20 minutes. Use a toothpick to check if the cake is done. Let the cake cool to room temperature.

Step 2: Prepare the Buttercream
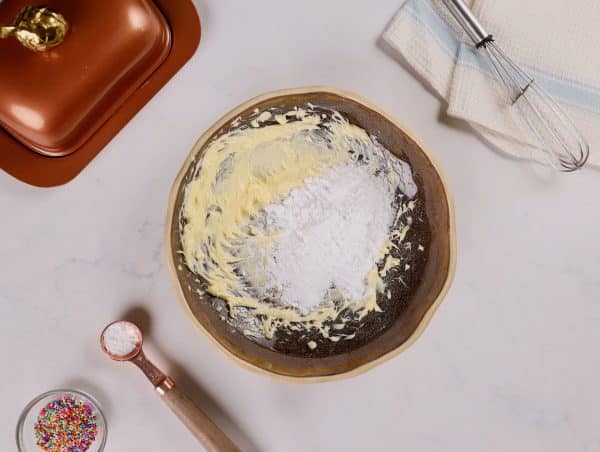
- In a bowl, whisk the butter until it becomes fluffy and forms peaks. This will take about 5 minutes with a hand whisk or less with an electric mixer.
- Gradually add powdered sugar and whisk until smooth.
- Add milk and vanilla essence, and whisk again until you achieve a creamy, smooth texture.
Step 3: Assemble the Cake Pops
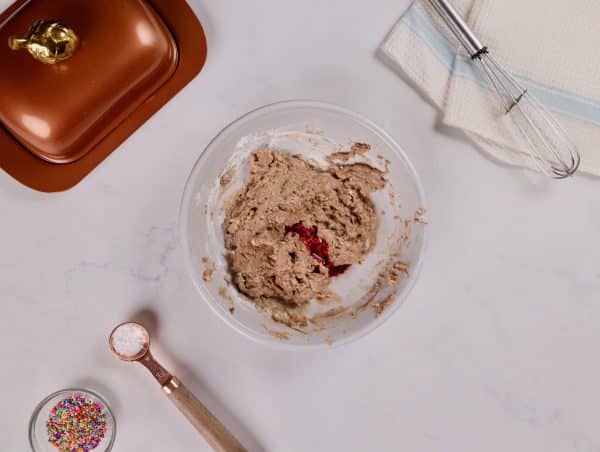
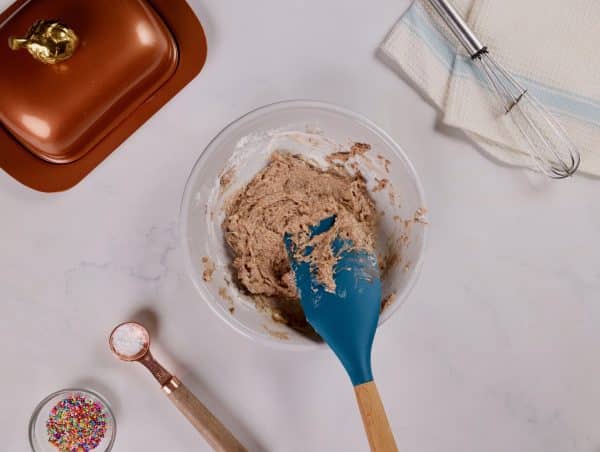
- Once the cake is cool, crumble it into a mixing bowl.
- Add the prepared buttercream frosting and mix until the crumbs form a dough-like consistency.
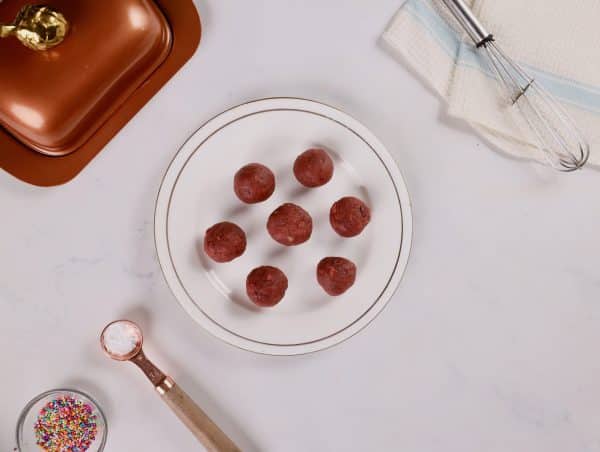
- Scoop small portions and roll them into round balls. Ensure they’re not too big to stay on the sticks.

Step 4: Add Sticks and Chill
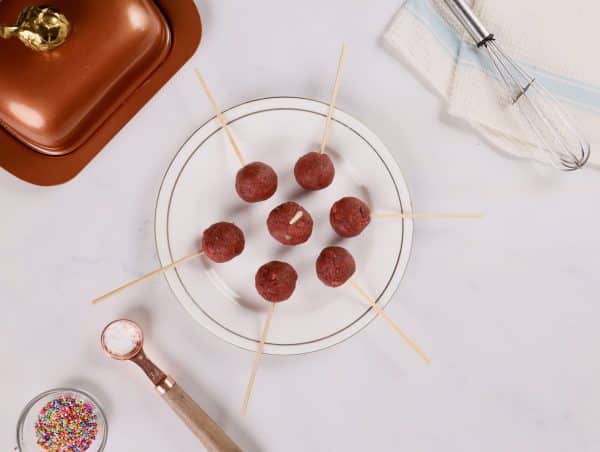
- Dip the end of each wooden stick into melted white chocolate, then insert it into a cake ball. Repeat for all the balls.
- Place the cake pops in the refrigerator for 10 minutes to set.
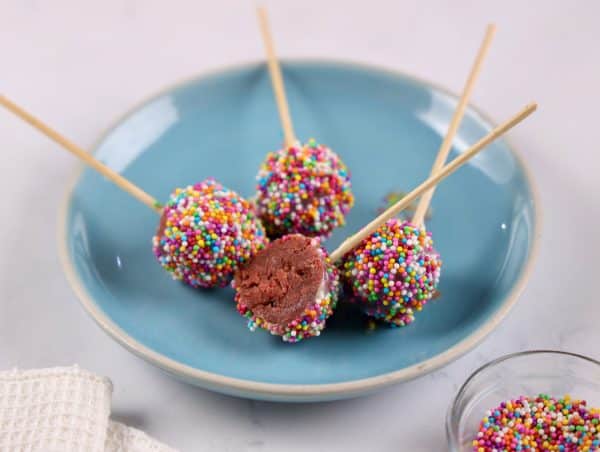
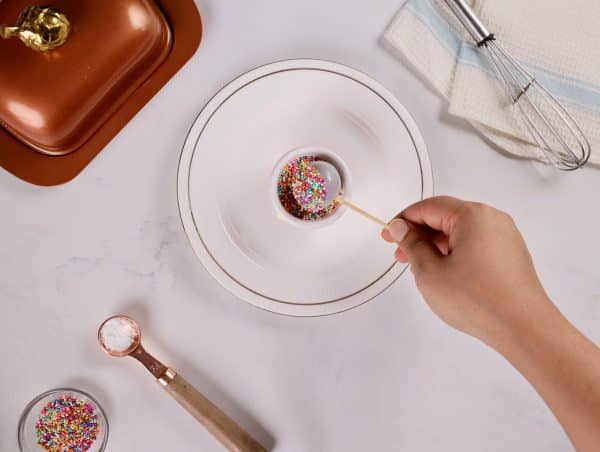
Step 5: Decorate
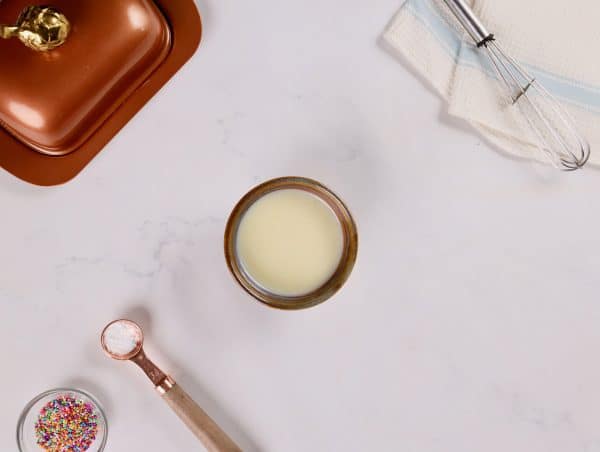
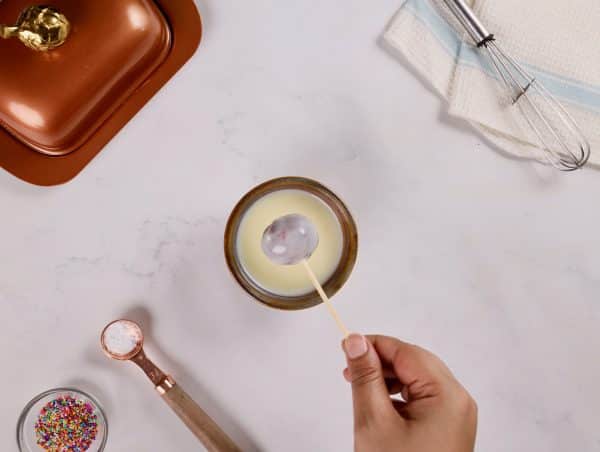
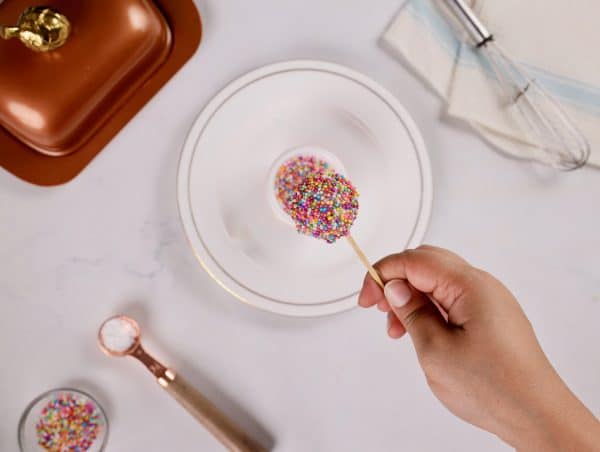
- Remove the cake pops from the fridge and dip them fully in melted white chocolate.
- Garnish immediately with sprinkles and stick them into a Styrofoam block to keep them upright.
- Once all the cake pops are decorated, refrigerate them for 15 minutes to set.

Tips and Tricks
- Avoid overmixing the cake batter to ensure a light, fluffy texture.
- For optimal results, store cake pops at room temperature to prevent condensation.
- Keep the size of the cake balls small to prevent them from falling off the sticks.
- Bamboo or wooden sticks are a sustainable option, but plastic sticks can also be used.

Why You’ll Love This Recipe
These red velvet cake pops are fun to make, customizable, and perfect for sharing.
The contrast between the moist cake, creamy frosting, and crunchy chocolate shell makes them irresistible.
Whether you’re hosting a party, gifting treats, or simply indulging yourself, these cake pops are sure to impress.
Try this recipe today and bring a pop of color and flavor to your dessert table!
Easy Valentine's Day Desserts Red Velvet Cake Pops
Ingredients
- FOR THE RED VELVET CAKE:
- All-purpose flour: ¼ cup
- Sugar: 2 tbsp
- Cocoa powder: 1 tsp
- Baking powder: ¼ tsp
- Milk: 5 tbsp
- Apple cider vinegar: ½ tsp
- Butter (melted): 1.5 tbsp
- Red food coloring: 1 tsp
- FOR THE BUTTER CREAM:
- Sugar (powdered): ¼ cup
- Butter (room temperature): 50 grams
- Milk: 1 tbsp
- Vanilla essence: ½ tsp
- FOR THE CAKE POPS:
- Prepared red velvet cake
- Prepared buttercream: 2 tbsp
- Wooden sticks
- White chocolate (melted): As required
- Sprinkles: To garnish
Instructions
- Start the recipes by making the mug cakes first. For the mug cakes, mix all the ingredients together. The mixture should be of thick consistency.
- Transfer the mixture to a cup that is microwave/oven friendly.
- Microwave for 70 seconds to 1 minute or until you see the cake rise. If you are using an oven, pre-heat the oven and bake the mug cake at 180°C for 15-20 minutes. Use a toothpick to ensure that the cake is cooked completely.
- While the cake is cooking, let’s prepare the buttercream. Take butter in a bowl and whisk it until it starts forming peaks. If you are using a hand whisk, then it will take you about 5 minutes. If you are using an electric whisk, it should be done in less than half the time.
- Add the sugar next and whisk again. It should turn into a smooth texture.
- Add the milk and vanilla essence and whisk again. You should end up with a smooth textured frosting.
- Once the cake is done, rest it and let it come to room temperature.
- Once the cake is cooled enough, transfer it to a mixing bowl and crumble it.
- Add the prepared buttercream frosting and mix well.
- Take small scoops and make round balls.
- Use a bamboo/ wooden thin stick, dip it in the melted white chocolate and stick it into the prepared balls. Refrigerate for 10 minutes.
- Next, bring them out of the refrigerator and dip the balls in melted white chocolate. Immediately garnish with sprinkles. Use a Styrofoam to keep the cake pops straight.
- Once you have dipped and garnished all the cake pops, refrigerate them for 15 minutes.
- Your cake pops are ready!
Notes
TIPS AND TRICKS
- Do not overmix the cake mixture or your cake will not rise and will be dense in texture.
- It is always better to store the cake pops at room temperature. If you refrigerate and store them then condensation will start appearing on the surface.
- Do not make the ball size too big or else they will not stay on the stick.
- You can use plastic sticks in place of bamboo/wooden ones. But bamboo/wood is more sustainable.